
Want to see how far you’ve come in your fitness journey? Taking gym progress photos is a fantastic way to visually track your changes. What are gym progress photos? They are pictures you take of yourself regularly to document your physical transformations over time, showcasing changes in muscle mass, fat loss, and overall fitness. Can you get great results from them? Absolutely, when done correctly!
These snapshots are more than just pretty pictures; they are powerful tools for motivation, accountability, and objective assessment. Whether you’re aiming for muscle growth pictures, bodybuilding progress pictures, or simply want to see fitness tracking photos, mastering the art of taking these shots will amplify your results. Let’s dive into how you can capture your workout progress shots effectively and document your fitness journey with consistent progress photos.
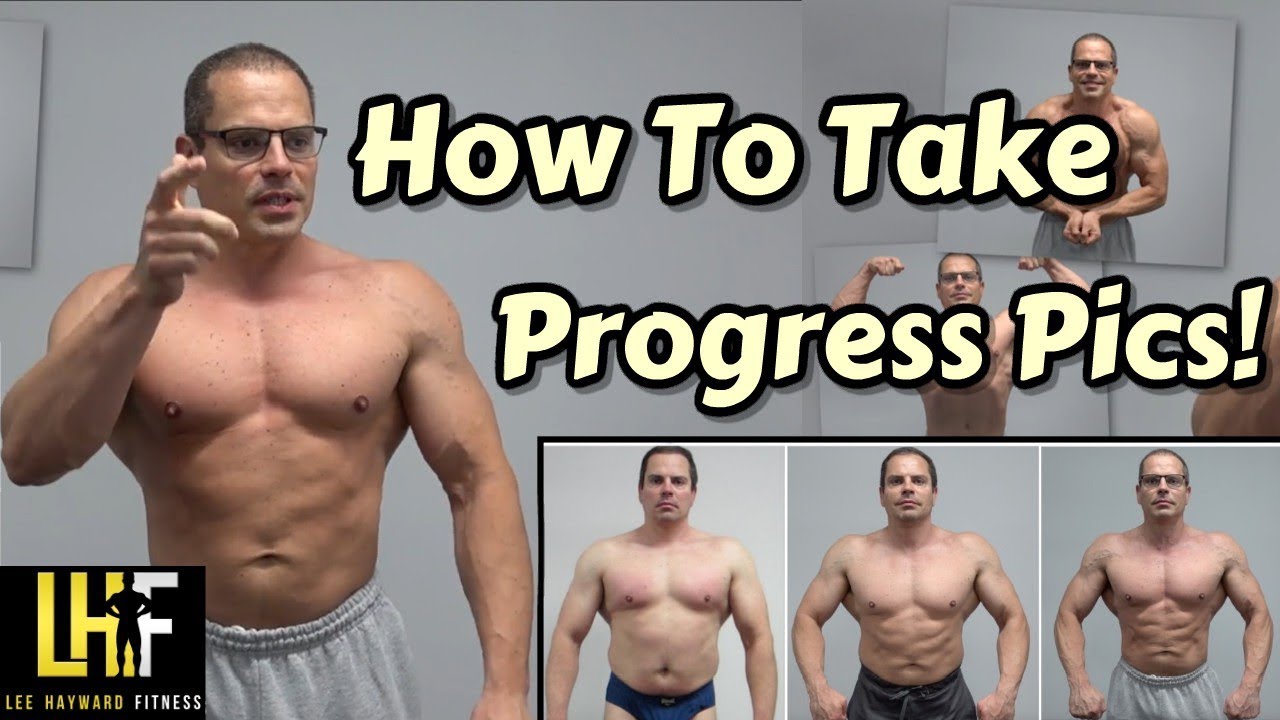
Image Source: i.ytimg.com
The Foundation: Why Take Progress Photos?
Before we get into the “how,” let’s solidify the “why.” Documenting your fitness journey through before and after workout photos provides invaluable insights.
Motivation Booster
- Visual Proof: Seeing tangible evidence of your hard work is incredibly motivating. It’s easy to feel like you’re not progressing when you look in the mirror every day. Progress photos reveal subtle but significant changes you might otherwise overlook.
- Reinforcing Goals: When you look back at your starting photos, you’re reminded of your initial goals and how far you’ve come. This can reignite your drive during challenging plateaus.
Objective Tracking
- Beyond the Scale: The number on the scale doesn’t tell the whole story. You might be gaining muscle and losing fat, which can keep your weight stable but result in significant visual changes. Progress photos capture this body recomposition.
- Identifying Plateaus and plateaus: These photos can highlight periods where your progress has stalled, prompting you to re-evaluate your training or nutrition. They also show when you’re breaking through plateaus.
Accountability Partner
- Commitment Visualized: Knowing you have to take photos regularly encourages consistency with your workouts and diet. It’s a personal commitment you can see.
- Honest Self-Assessment: Progress photos offer an unbiased look at your physique. They can reveal imbalances or areas that need more attention, which you might not notice in your daily routine.
Setting the Stage: The Essential Elements for Great Photos
To get truly useful and impressive progress photos, preparation is key. Think of it as setting up for a professional photoshoot, but for your own body.
The Right Camera and Setup
You don’t need a fancy DSLR, but a decent smartphone camera will suffice.
- Smartphone Camera: Most modern smartphones have excellent cameras. Ensure it’s clean!
- Tripod or Stable Surface: This is crucial for consistency. A tripod allows you to set up the shot and step into the frame, ensuring the angle and distance remain the same for every photo. If you don’t have a tripod, prop your phone against a stack of books or a stable object.
- Remote Shutter (Optional but Recommended): Using a Bluetooth remote or the timer function on your camera app helps avoid camera shake when you press the button.
Lighting is Everything
Good lighting can make a world of difference.
- Natural Light is Best: Position yourself facing a window during daylight hours. This provides soft, even lighting that contours your muscles without harsh shadows.
- Avoid Direct Sunlight: While natural light is good, direct, harsh sunlight can create blown-out highlights and deep shadows. Overcast days or indirect light from a window is ideal.
- Consistent Artificial Lighting: If natural light isn’t an option, use consistent artificial lighting. Two identical softbox lights placed at a 45-degree angle to your body can create a flattering effect. Avoid overhead lighting, which can cast unflattering shadows.
- No Shadows: Ensure there are no prominent shadows cast on your body that obscure muscle definition.
The Perfect Backdrop
Your background should be as neutral and consistent as possible.
- Clean Wall: A plain, solid-colored wall is your best bet. White, grey, or black are excellent choices.
- Minimize Distractions: Avoid cluttered backgrounds or busy patterns that can detract from your physique. You want the focus to be entirely on you.
- Same Location: Use the same spot for every photo session. This maintains consistency in lighting and background, making comparisons easier.
Timing and Consistency
This is arguably the most important factor for effective fitness tracking photos.
- Frequency: Most people find a bi-weekly or monthly schedule works well. Some opt for weekly photos, especially during intense training phases. Choose a frequency you can stick to.
- Same Time of Day: Take your photos at the same time of day for each session. This helps account for variations in hydration, food intake, and energy levels.
- Fasted State (Optional): Many prefer to take photos first thing in the morning, before eating or drinking anything, to capture their leanest state. However, consistency is more important than the specific time.
Posing for Progress: How to Show Your Best Self
Posing can dramatically impact how your progress appears in photos. You want poses that showcase muscle groups and highlight your overall physique.
Standard Poses for Progress Photos
These poses are widely used in the fitness community for effective bodybuilding progress pictures.
- Front Pose: Stand straight with your feet shoulder-width apart. Relax your shoulders and let your arms hang naturally at your sides. Suck in your stomach slightly to engage your core.
- Side Pose (Left and Right): Stand with your side to the camera. Turn your hips slightly forward. Bring your front arm forward and your back arm slightly back. Arch your back gently and flex your lats and glutes. This highlights your side profile and muscle thickness.
- Back Pose: Stand with your back to the camera. Feet shoulder-width apart. Arch your back slightly and pull your shoulders back to showcase your back muscles (lats, traps, rhomboids). Squeeze your glutes.
- Front Double Biceps: Turn slightly to the side, facing the camera. Raise both arms, bending at the elbows, and flex your biceps. Keep your wrists straight. This highlights your bicep peak and overall arm development.
- Back Double Biceps: Turn your back to the camera. Raise both arms, bending at the elbows, and flex your biceps. This shows your upper back thickness and bicep development from behind.
- Abdominal and Thigh Pose: Stand facing the camera. Place your hands on your hips or cross them in front. Squeeze your abs and quads to show definition. This pose highlights your abdominal region and leg development.
Key Posing Tips
- Flex, But Don’t Tense Too Much: You want to see muscle definition, but over-tensing can distort your natural shape. Aim for a strong but controlled flex.
- Engage Your Core: Always suck in your stomach slightly. This will make your abs appear more defined and your waist look smaller.
- Shoulders Back: Pull your shoulders back and down. This opens up your chest and makes your back look wider.
- Practice: Practice these poses in front of a mirror before your actual photo session. Get comfortable with them so you can execute them smoothly.
What to Wear: Minimizing Distractions, Maximizing Clarity
Your attire should complement your physique, not detract from it.
Best Clothing Choices
- Black or White Underwear/Board Shorts: This is the standard for physique update photos. It’s minimal and allows the viewer to see your body without the distraction of busy patterns or colors.
- Fitted Athletic Wear: If you prefer to wear more clothing, opt for form-fitting athletic wear. For men, this could be compression shorts or briefs. For women, sports bras and tight-fitting shorts or leggings are good options.
- Avoid Baggy Clothes: Baggy clothing hides your progress and defeats the purpose of taking these photos.
Things to Avoid
- Distracting Colors or Patterns: Bright colors, logos, or busy patterns can draw attention away from your body.
- Loose-Fitting Garments: As mentioned, these obscure your progress.
- Accessories: Remove jewelry, watches, or any other accessories that might cast shadows or obscure your form.
The Photography Checklist: Step-by-Step Guide
Let’s put it all together into a actionable plan.
Before Your Photoshoot
- Clean Your Camera Lens: A smudge can ruin a shot.
- Set Up Your Tripod/Phone: Position it at the same height and distance as previous sessions.
- Choose Your Location and Lighting: Ensure consistent, flattering light and a clean backdrop.
- Decide on Your Outfit: Select minimal, form-fitting attire.
- Hydrate Appropriately: Don’t overhydrate or dehydrate just for a photo, but be consistent with your intake.
- Prepare Your Poses: Practice in a mirror if needed.
During Your Photoshoot
- Start with the First Pose: Get into position.
- Activate Timer/Remote: Give yourself enough time to get into position.
- Strike the Pose: Flex, engage your core, and hold.
- Take Multiple Shots: Take several photos of each pose to ensure you get a good one.
- Move to the Next Pose: Repeat the process for all your chosen poses.
- Include Full Body and Close-Ups: Get shots of your entire body, as well as closer views of specific areas like your arms or abs if desired.
After Your Photoshoot
- Review Your Photos: Look at them critically but fairly.
- Organize and Save: Create a dedicated folder for your progress photos. Label them with the date.
- Compare with Previous Photos: Use photo editing software or apps to line up your photos side-by-side for direct comparison. Many apps are designed specifically for documenting fitness journey.
Pro Tips for Capturing Muscle Growth Pictures
If your goal is specifically muscle growth pictures, a few extra tips can help you showcase that development.
- Focus on Muscle Engagement: Really squeeze and contract the muscles you want to highlight in each pose.
- Slight Tan or Tan Drops (Optional): A subtle tan can enhance muscle definition by deepening shadows. Use responsibly and avoid tanning beds. Tan drops or spray tans can be a safer alternative.
- Good Pump: Some people prefer to take their progress photos after a workout when their muscles are “pumped” from blood flow. This can temporarily enhance size and vascularity. However, for long-term progress tracking, a consistent, non-pumped state is often preferred for a more objective comparison of underlying muscle growth. If you choose to use a pump, do so consistently for every session.
Common Mistakes to Avoid
Even with the best intentions, certain mistakes can undermine your progress photo efforts.
- Inconsistent Lighting: Shifting light sources or angles between photos makes direct comparisons difficult.
- Varying Poses: If you change your posing routine each time, it’s hard to see how your body shape is changing.
- Wearing Different Amounts of Clothing: Even different colored underwear can subtly alter the appearance of your body shape.
- Not Keeping the Same Background: A new background can change how the light hits you and distract from the comparison.
- Overly Critical Self-Judgment: Remember these are for tracking, not for achieving perfection on the spot. Be patient and focus on the long-term trend.
- Only Looking at Photos: Don’t forget to also track other metrics like strength gains, how your clothes fit, and how you feel. Progress photos are one piece of the puzzle.
Comparing Your Progress: Making Sense of the Images
The real magic happens when you compare your photos side-by-side.
Using Technology for Comparison
- Photo Editing Apps: Many free and paid apps allow you to overlay photos, adjust transparency, and create side-by-side comparisons. Look for features designed for fitness tracking photos.
- Spreadsheets or Journals: Keep a digital or physical journal where you store your photos and make notes about your training, nutrition, and how you felt during that period.
What to Look For
- Muscle Definition: Are your muscles becoming more defined?
- Body Fat Reduction: Is your waistline shrinking? Is the separation between muscles more apparent?
- Muscle Gain: Are your limbs and torso appearing larger and more muscular?
- Posture: Has your posture improved?
- Symmetry: Are you developing more evenly on both sides of your body?
Frequently Asked Questions (FAQ)
Here are some common questions about taking gym progress photos:
- Q: How often should I take progress photos?
- A: Most people find bi-weekly or monthly intervals work well. Choose a frequency that allows you to see meaningful changes without becoming discouraged by slow progress. Consistency is key.
- Q: What if I don’t see changes?
- A: Progress takes time, and sometimes changes are subtle. Ensure your photos are consistent, and review them against your earliest ones. Also, consider if your training or nutrition needs adjustment. Sometimes, you might be seeing strength gains or feeling better even if visual changes are slow.
- Q: Should I post my progress photos online?
- A: That’s entirely up to you! If sharing motivates you or inspires others, go for it. However, keep in mind that for personal tracking, privacy is paramount. Only share what you’re comfortable with.
- Q: Do I need to be in a fasted state for photos?
- A: Consistency is more important than being fasted. Taking photos at the same time of day, regardless of food intake, provides a more consistent baseline for comparison. However, many find a fasted morning state shows their leanest physique.
- Q: Can I take progress photos in my gym?
- A: You can, but be mindful of the lighting and background. Gyms often have busy backgrounds and varied lighting that can make comparisons harder. A consistent, neutral setting at home is usually best. Ensure you have permission if photographing in a public gym.
- Q: What if my weight goes up, but I look better?
- A: This is a sign of successful body recomposition! If your weight increases due to muscle gain and your body fat decreases, you’ll likely look leaner and more muscular. Progress photos are excellent for capturing this.
By following these guidelines, you’ll be well on your way to taking gym progress photos that accurately reflect your hard work and motivate you to keep pushing towards your fitness goals. Happy snapping and happy training!